Blue Hour Photography: When to Shoot and How to Plan
Blue hour is a short, changing period of twilight when the Sun is roughly 4 to 6 degrees below the horizon. Plan around local sunset or sunrise, then adjust for your location, season, and the light you want.
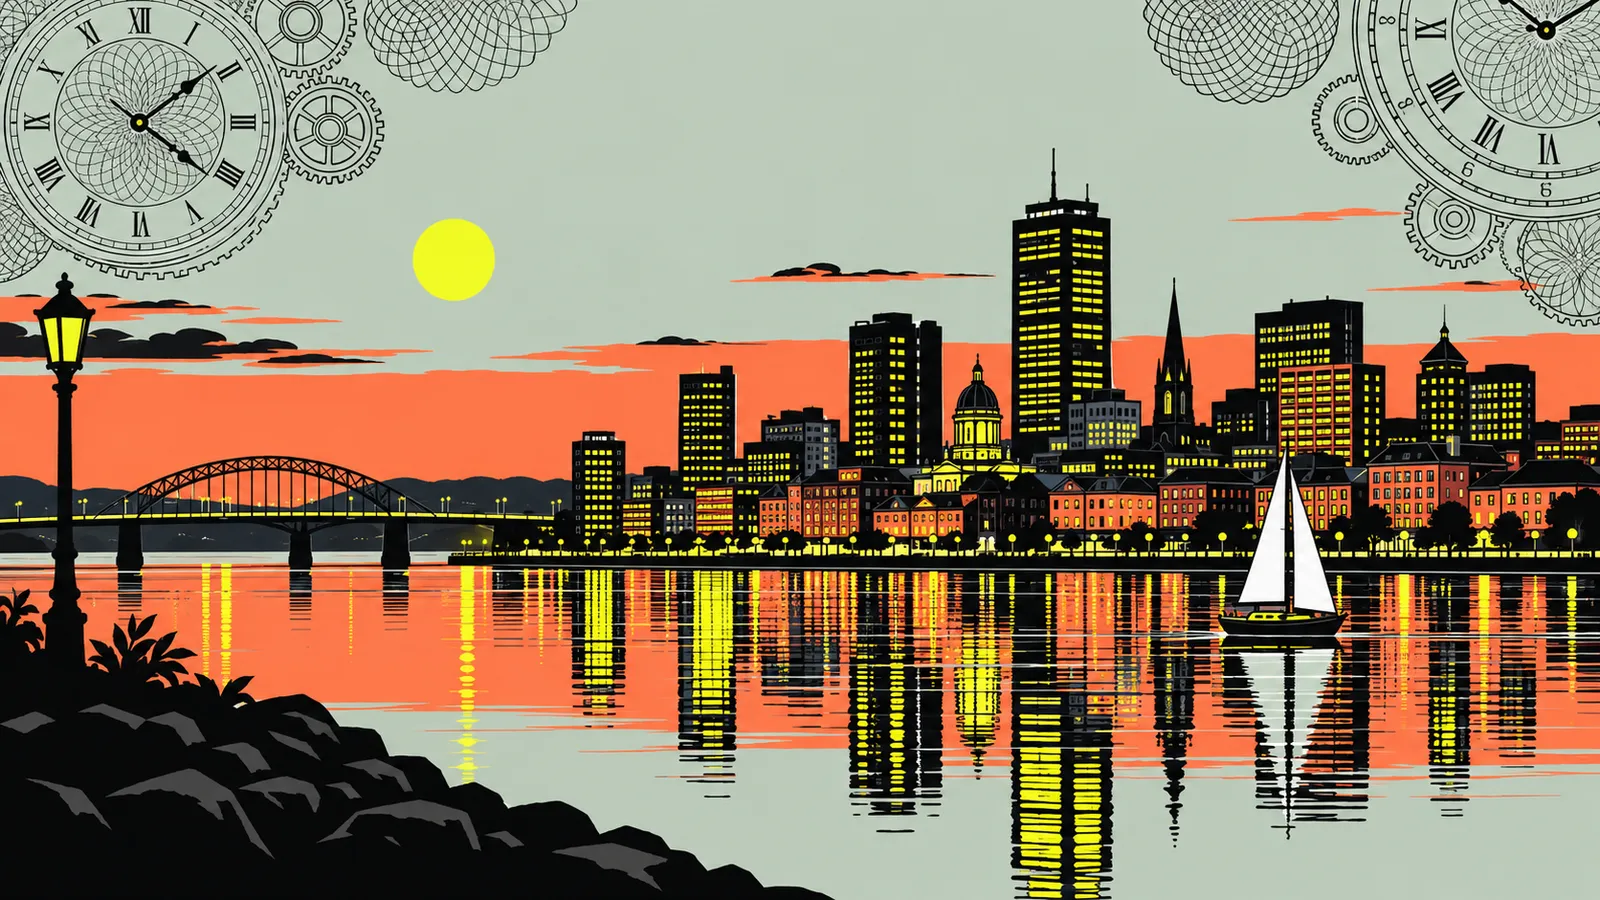
For blue hour photography, look for the period when the Sun is roughly 4 to 6 degrees below the horizon, near the end of evening civil twilight or its morning counterpart. The exact clock time and length vary with location and date, so use a sunrise and sunset tool to anchor your plan, then track the changing sky; civil twilight ends when the Sun is 6 degrees below the horizon, according to the U.S. Navy.
- IBlue hour is roughly 4 to 6 degrees below the horizon.
- IICivil twilight ends at a solar depression of 6 degrees.
- IIIBlue hour occurs after sunset and before sunrise.
- IVIts timing and duration vary with location and date.
- VArrive early to set up before the light changes.
What is blue hour in photography?
Blue hour is a photography term for a short twilight interval when the Sun is below the horizon and the sky still provides usable ambient light. For practical planning, think of it as the part of twilight when the Sun is roughly 4 to 6 degrees below the horizon. That places it near the darker edge of civil twilight, which ends in the evening and begins in the morning when the Sun’s center is 6 degrees below the horizon, as explained by the U.S. Navy.
The name describes the cool-looking quality the scene can take on, not a separate official twilight category. Buildings, streets, and other subjects may still be visible in the remaining scattered daylight, while lamps and windows begin to stand out. The balance between sky and artificial light is one reason this interval works well for cityscapes, architecture, and waterfront scenes.
Blue hour is related to, but distinct from, golden hour. Golden hour is associated with the Sun above the horizon; blue hour comes after sunset or before sunrise. Both change quickly, so the useful light is not a fixed block of time everywhere. The Adobe photography guide also describes blue hour as a brief period after sunset.
Where blue hour fits in twilight
Twilight is the period before sunrise and after sunset when the atmosphere is still illuminated by sunlight scattered through the upper atmosphere. The boundaries are defined by the Sun’s position below the horizon. The labels help you understand the changing conditions, but the exact look of a scene depends on weather, terrain, and nearby artificial light.
| Twilight stage | Sun below horizon | Photography context |
|---|---|---|
| Civil | 6 degrees | Brightest twilight; ground and horizon are often discernible. |
| Nautical | 12 degrees | Deeper twilight; the horizon remains important for navigation. |
| Astronomical | 18 degrees | Sky approaches darkness; scattered sunlight is much reduced. |
The blue-hour range of roughly 4 to 6 degrees is a working photography description, not an official boundary that applies identically to every scene. The 6-degree mark is the civil-twilight limit. If you want to learn more about these named stages, see our guide to civil twilight and other twilight types.
Why timing changes with latitude and season
A sunset time gives you a useful starting point, but it does not tell you exactly when the Sun will reach a particular angle below the horizon. The angle changes as Earth rotates, and the Sun’s apparent path meets the horizon at different angles depending on location and season. As a result, the interval between sunset and deeper twilight can feel short in one place and more gradual in another.
Latitude matters especially when you compare locations far north or south. At high latitudes, the Sun can cross the horizon at a shallow angle, and the U.S. Naval Observatory notes that rise and set calculations become less reliable there because small changes in refraction can shift the apparent timing by many minutes. Terrain also matters: a ridge or building may block the Sun before it reaches the level horizon used in standard calculations.
Season changes the Sun’s path as well. The NOAA glossary explains that solar declination varies through the year, reaching about 23.44 degrees north or south at the solstices and zero degrees at an equinox. So do not assume a blue-hour window lasts the same amount of time each visit. Check the local date and location, and treat your planned window as an estimate rather than a promise.
How to plan a blue-hour shoot
Start with the date and the exact place you intend to photograph. Use the sunrise and sunset tool to find local sunset for an evening shoot or sunrise for a morning shoot. The NOAA Solar Calculator can also provide sunrise, sunset, solar noon, and solar position for locations worldwide; it accepts a location, date, and local time. NOAA says its calculator is no longer actively maintained and that actual observed values can differ because of atmospheric conditions and algorithm uncertainty, so use calculated times as planning aids rather than guarantees.
- Choose your composition and identify where the horizon lies from your shooting position.
- Check the local sunset or sunrise time for that date, then arrive early enough to set up before the light changes.
- Watch the sky and make several frames as twilight deepens instead of relying on one predicted minute.
- For more precision, check the Sun’s position at a selected time with a solar-position calculator, and note the local conditions that could affect visibility.
For a hypothetical example, if a tool lists sunset in New York at 6:20 p.m. local time, use that as the anchor, not as a claim about the blue-hour start. The useful angle arrives after sunset, and its clock time depends on the date and location. Keep all planning in local time; if coordinating across regions, use a time zone converter to avoid mixing up the shoot time.
Camera settings for changing light
Blue-hour scenes often move from enough ambient light for handheld photography toward conditions that call for a steadier camera. A tripod can help when you want to keep detail in both the sky and a darker foreground without relying on a very high sensitivity setting. If people or vehicles are moving through the frame, however, a longer exposure can blur them; decide whether that motion helps the composition.
Start with a test frame and review the highlights and shadows. Bright signs, lamps, and windows can clip before the rest of the scene looks bright, so check those areas rather than judging exposure only from the overall preview. If your camera allows it, capture a RAW file for more flexibility when adjusting color and tonal balance later.
White balance affects whether the scene looks more neutral or more strongly cool. Try a fixed setting if you want a consistent look across a series, or leave it on automatic if you prefer to make the choice during editing. There is no single exposure recipe for every blue-hour scene: the sky, subject movement, lens, and desired mood all matter. Make a sequence of frames as the light changes, and keep the settings that preserve the details you care about.
Composition, color, and artificial light
Blue hour is useful when a scene contains both natural and artificial light. The remaining twilight can keep the sky visible while streetlights, signs, or illuminated windows give the foreground distinct points of interest. Look for a composition that connects those elements: a reflection, a line of lit buildings, or a strong subject against the sky can give the frame a clear structure.
Reflections can make a city or landscape feel more balanced, but they depend on the angle and condition of the surface. A waterfront may reflect lights and sky, while wet pavement can provide a smaller-scale echo of the same colors. Avoid placing every bright light near the edge of the frame without considering how it draws attention; check the whole image for competing highlights.
Color can shift as the sky darkens, and nearby lamps may have a different color from the ambient light. Decide whether to preserve those differences or make the image more uniform in editing. If the scene includes a visible horizon, use it to judge how much sky remains. The National Weather Service notes that during civil twilight the horizon and terrestrial objects can be discernible when conditions such as fog do not interfere, but visibility is not guaranteed in every location.
Choose a location and account for conditions
Scout a location with the finished composition in mind. A clear view toward the relevant horizon helps you see the changing sky, while a city subject may work best when you can include both illuminated structures and some open sky. Check access and your route before you go, particularly if you are planning a morning shoot before sunrise. If you need to compare the local time with another place, the world clock can help keep the schedule clear.
Clouds can change the appearance of twilight, and fog or other visibility restrictions can hide the horizon or distant subjects. The National Weather Service notes that its description of visible horizons and terrestrial objects assumes no fog or other restrictions. Treat the forecast as part of your planning, but allow for local conditions to differ from a general forecast.
Standard sunrise and sunset calculations use an idealized horizon. The U.S. Naval Observatory explains that observer height and local topography are not included in routine rise and set calculations, and that they can affect what you actually see. A mountain, building, or tree line may block the Sun earlier than a level horizon would. Use the calculated time to organize your shoot, then let the real view determine when to start photographing.
Common blue-hour photography mistakes
Arriving at sunset instead of before it. The light begins changing before the exact sunset time, and setting up after arrival can cost you useful frames. Get your composition and equipment ready in advance.
Assuming sunset equals blue hour. Sunset is a clock-time event; the blue-hour description refers to a range of solar angles below the horizon. Use sunset as an anchor, then keep photographing as twilight deepens. A sunset-time guide can help clarify what a listed sunset time means.
Expecting the same schedule everywhere. A plan that worked at one latitude or season may not fit another. Check each location and date rather than reusing a saved time without verification.
Ignoring the actual horizon. Calculations use standard assumptions, but local hills and buildings can change what is visible from your viewpoint. Using one exposure for the whole session. The light continues to change, so review frames and adjust when the sky or subject begins to lose detail. Finally, do not treat any calculator as an exact prediction: the NOAA Solar Calculator cautions that atmospheric conditions and calculation uncertainty can make observed solar times differ.
A simple workflow for the shoot
A straightforward plan keeps attention on the changing scene instead of on the clock. Before the shoot, choose your location, check the local date and sunrise or sunset time, and decide which view you want to frame. If you are photographing a skyline, for example, identify a position where the sky and the lit buildings can both appear in the composition.
- Arrive with enough time to set up and make a test frame before the target light.
- Use the horizon and the visible sky as cues; do not assume a fixed number of minutes after sunset will work everywhere.
- Take a series as the twilight changes, checking focus, highlights, and motion in the frame.
- When the sky becomes too dark for the intended balance, change the composition or finish the session rather than holding to an arbitrary schedule.
For a morning shoot, reverse the sequence: be ready before sunrise and photograph as the sky brightens. A hours calculator can help you work out a travel or setup interval, while a date calculator is useful when comparing dates for a planned return. The most reliable approach is to use calculated times for preparation and the changing scene itself to decide when the photograph is right.
Questions people ask
How many minutes does blue hour last?
There is no single duration that applies to every location and date. The Sun’s path relative to the horizon varies with latitude and season, and local terrain can affect what you see. Plan around sunset or sunrise, arrive early, and photograph a sequence as the light changes instead of relying on a fixed number of minutes.
Is blue hour before sunrise or after sunset?
It can be either. Evening blue hour comes after sunset as the Sun moves farther below the horizon; morning blue hour comes before sunrise as it approaches the horizon. Civil twilight is the interval ending at sunrise in the morning and beginning at sunset in the evening, according to the U.S. Navy.
Is blue hour the same as civil twilight?
No. Civil twilight is an official twilight category: it ends or begins when the Sun’s center is 6 degrees below the horizon. Blue hour is a photography term often used for the portion when the Sun is roughly 4 to 6 degrees below the horizon, so the terms overlap but are not identical. See the NOAA glossary.
How can I find blue hour for my city?
Look up the local sunrise or sunset time for your city and date with a sunrise and sunset tool. Use it as an anchor, then check solar position if you need a closer estimate of when the Sun reaches the desired angle. Calculated times are estimates; NOAA notes that atmospheric conditions can cause observed values to differ.
Do I need a tripod for blue-hour photography?
Not always, but a tripod can help when the scene gets darker and you want to hold detail without relying on a very high sensitivity setting. It is also useful if you want to keep the framing consistent across a sequence. For moving subjects, consider whether a longer exposure will blur motion in a way you want.
What should I photograph during blue hour?
Try city skylines, architecture, bridges, waterfronts, or streets where artificial lights can stand out against the remaining twilight. Look for a composition that connects the sky and subject, such as a reflection or a line of illuminated buildings. The best choice depends on the view, weather, and access at your location.
Sources
- Solar Calculator - NOAA Global Monitoring Laboratory, NOAA Global Monitoring Laboratory
- Solar Calculator Glossary, NOAA Global Monitoring Laboratory
- Rise, Set, and Twilight Definitions, U.S. Navy
- Twilight Types, National Weather Service Louisville, KY
- Golden hour photography tips, Adobe
Edited by Leo, editor of WhatTimeIsIt.blog
Calculations on this page run in your browser using the IANA time zone database and standard calendar rules. Facts are checked against the government agency, standards body or official source linked in the text. Last reviewed November 10, 2026. See the editorial policy or report an error to hello@whattimeisit.blog.